
How To: Bench Bleeding A Master Cylinder for you're American Muscle Car or Truck

Figure 1: 1921 Duesenberg Model A shown
The first car ever fitted with hydraulic brakes was the Model A Duesenberg back in 1921. The day after that first Duesenberg was built the phrase “bleeding the brakes” became part of the automotive dictionary. Hydraulic Brakes represented a huge leap forward in brake safety and performance from the series of rods, cables and levers that had been used automobiles up to that point.
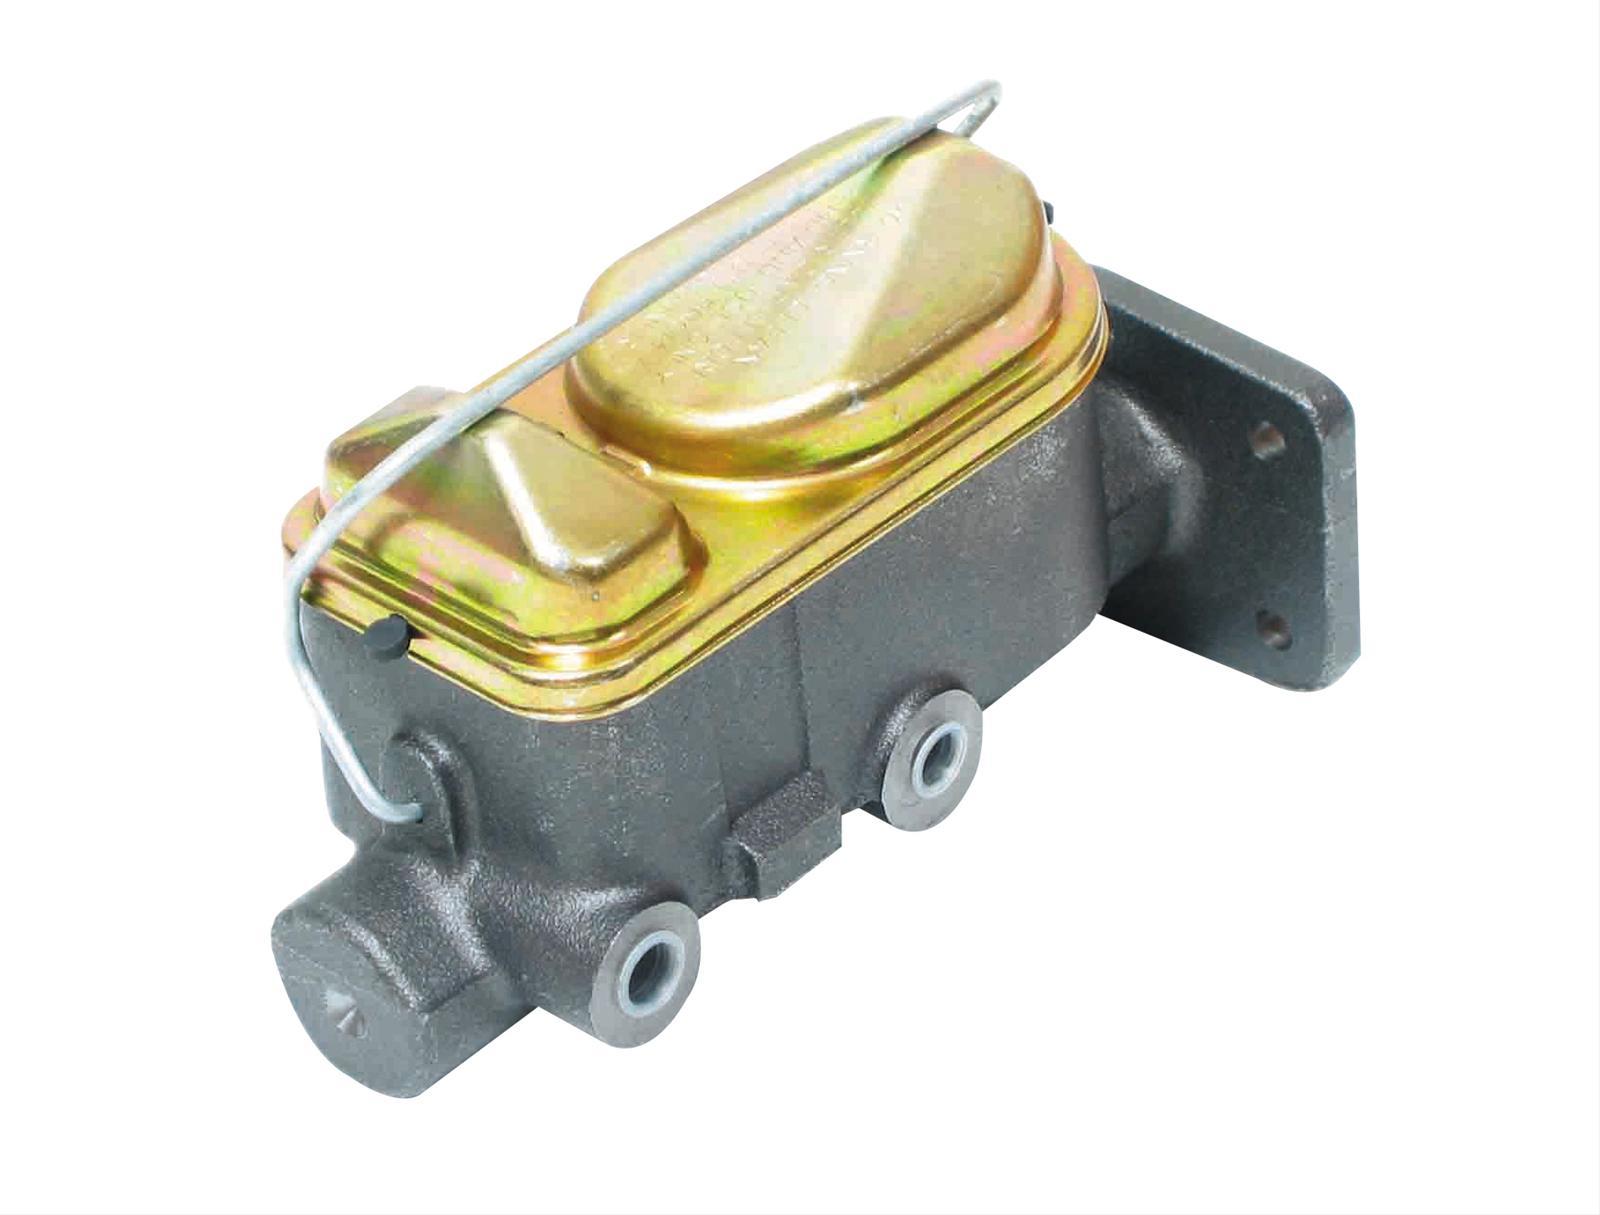
Figure 2: The Right Stuff's Part number DBMC10 Master Cylinder shown
It doesn’t matter if you own a Camaro, Chevelle, Nova or something in between, the brains and the brawn behind all hydraulic brake systems is the master cylinder. Master cylinders are hydraulic pumps that are manually activated by the brake pedal and contain a series of pistons, O-rings, springs and machined orifices that precisely meter brake fluid volume and pressure and turns brake pressure into braking action.
Because air is compressible and brake fluid is not, it is critical that any air that may be in a brake system be purged through a brake bleeding process. Indicators of air in a brake system are a spongy or soft brake pedal or a brake pedal that travels to the floor before any braking action has taken place.
When installing a new master cylinder or in a scenario where your existing master cylinder has run dry due to fluid leaks or brake system component failure, the master cylinder must be bled to get rid of all air that will be present in the bore that surrounds the master cylinders pistons and O-rings. Without bench bleeding trapped air in a master cylinder, it will be difficult to bleed the brake system properly or achieve a the firm pedal feel.
Brake Master Cylinder Bench Bleeding Process:
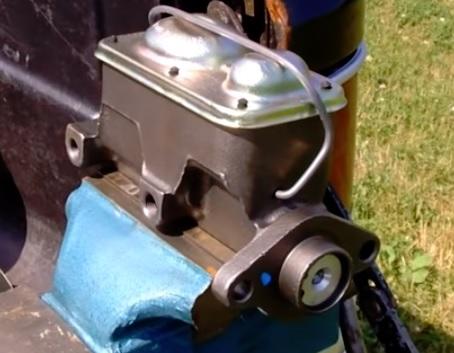
Figure 3: Secure the Master Cylinder in a Vice
Step 1 Bench bleeding is typically done with the master cylinder off the vehicle. Clamp the master cylinder into a vice securely. On most master cylinders there will be an area at the bottom of the master cylinder that lends itself to clamping such as shown here. If you are working on a polished billet master cylinder or one that does not have an area at the bottom to clamp on to you can use one of the master cylinder mounting ears or flange at the back of the master cylinder shown in this picture. You want the master cylinder to be secured but be careful not to clamp the bottom of the master cylinder too tightly as it is possible to crack the cast iron body with too much force. Ensure that the master cylinder is level in the vice.
Tech Tip: Bench bleeding a master cylinder can be a messy process and removing it from the car will minimize spilling brake fluid on your vehicles painted surfaces. If brake fluid spills on a painted surface, quickly was away the spilled fluid it with tap water and dry the area. Brake fluid can and will cause paint damage if not cleaned up quickly.
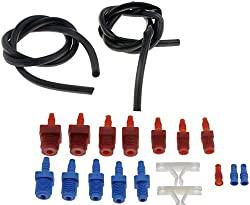
Figure 4: Master Cylinder Bleed Kit Shown
Step 2 Most new master cylinders will come with a bleed kit. If you are working on a used master cylinder or your new master cylinder did not come with the kit you will need to purchase one.
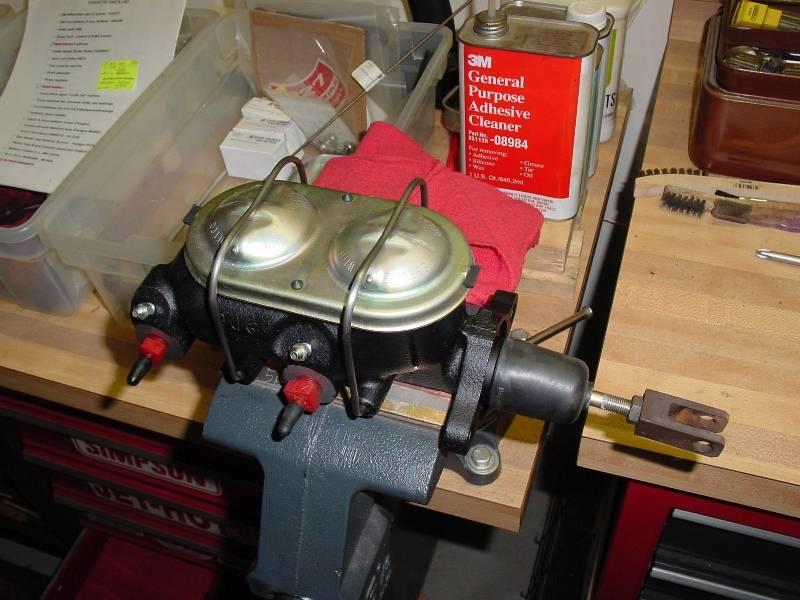
Figure 5: Insert Bleeder Nipples from the Kit into the Master Cylinder Ports
Step 3 Bleeder kits come with multiple sized bleeder nipples to fit multiple applications. Identify and install the correct sized bleeder nipple into the lower exit ports (where the brake lines will ultimately be inserted) and hand tighten them tight enough not to leak. Be careful not to over torque as the plastic threads can strip easily.
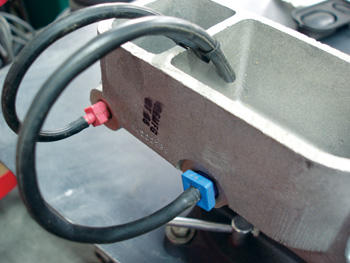
Figure 6: Bleeder Hoses Correct Installation Shown
Step 4 Next install the hoses that came with the bleeder kit and secure the loose ends with the supplied clip, one hose for each chamber.

Figure 7:Fill Each Chamber approximately 3/4 Full
Step 5 Fill each chamber of the master cylinder approximately ¾ to capacity. Make sure to use a fresh bottle of the correct DOT specified brake fluid for your vehicles brake system.
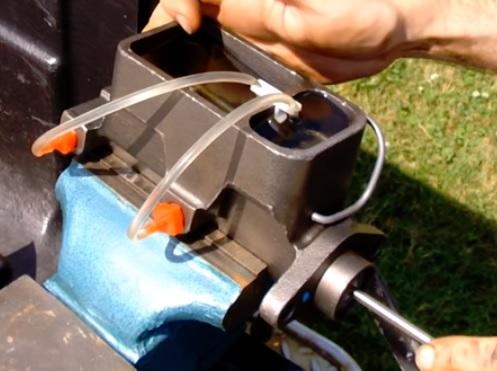
Figure 8: Insert Screwdriver into Master Cylinder Piston and Depress the Piston
Step 6 Insert a screwdriver (Philips screw drivers work well) into the center bore of the master cylinder piston as shown above. Stabilize the master cylinder with one hand and depress the piston with the other hand with enough pressure to smoothly push and release the master cylinder piston. Slow, smooth movement of the piston is required and you want the piston to travel far enough in its bore to reach the end of its travel.
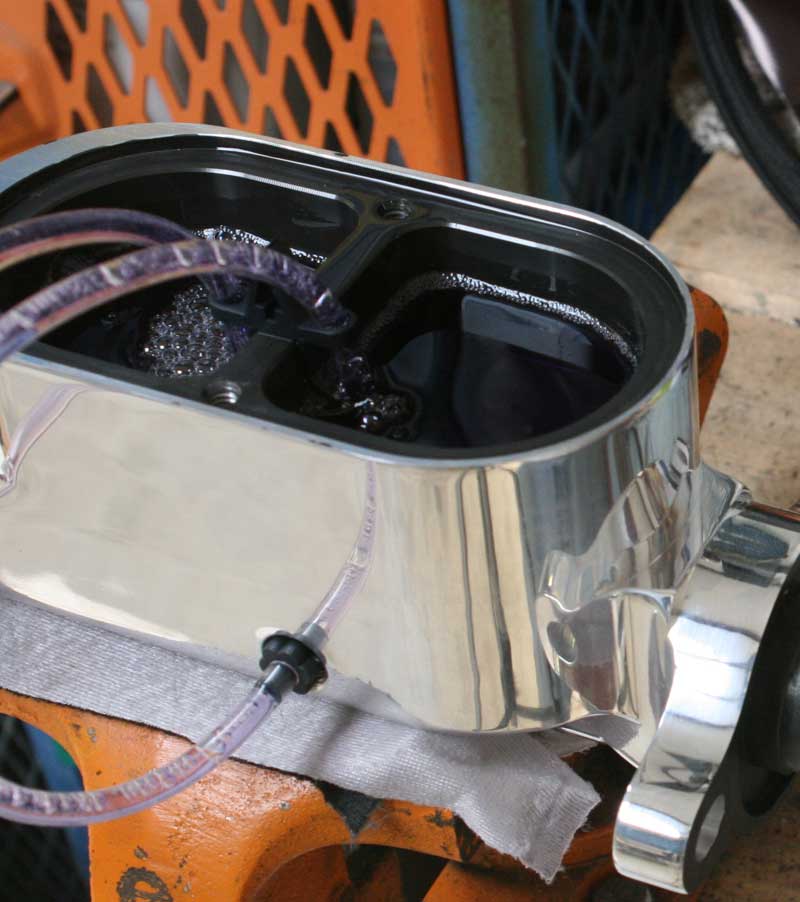
Figure 9: Air Bubble releasing from Bleeding Process
Step 7 As you run the master cylinder piston through its travel you will notice air bubble intermixed with brake fluid coming out of the open end of the bleed hoses. This is normal and is an indication that there is air in the piston or seat area of the master cylinder. Once there is nothing but straight fluid (no air bubbles) coming out of the bleeder hoses the bleeding process is complete. Once complete the stroke of the master cylinders piston should feel constant and uniform. When air is in the system the stroke will take less effort and will be inconsistent.
Tech Tip: There are times when there are stubborn air bubbles trapped in a master cylinder. When this happens, use the handle end of a screwdriver to tap around the master cylinder bore. Many times, this will release the bubbles and help the bleeding process.
Figure 10: Master Cylinder Ready to Install
Step 8 The master cylinder is now ready to be installed. Remove the bleed lines but leave the bleed nipples installed. Cap off the bleed nipples so they wont leak, ensure the master cylinder has the proper level of brake fluid and lightly install the master cylinder cap. Finally, clean up any spilled brake fluid off the exterior of the master cylinder and proceed to installing it on your car.
Tech Tip: Just before installing the brake lines into the master cylinder, leave the master cylinder lid on and quickly remove the bleeder nipples and insert the metal brake lines into their respective ports. A small amount of brake fluid will escape during this process so be sure to have rags or paper towels beneath the master cylinder before performing this step.
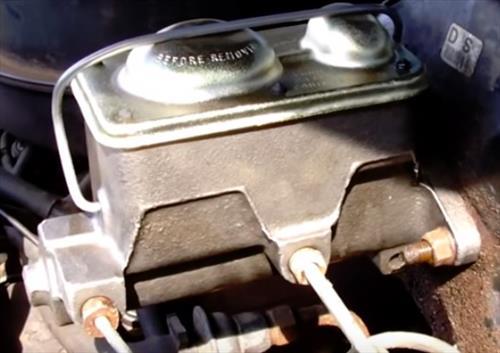
Figure 11:Brake lines and master cylinder installed
Bleeding a master cylinder is not difficult but it is an important step when either servicing or upgrading your vehicles brake system. After installing the bench bled master cylinder the rest of the brake system will need to be bled.
If you have any further questions on bleeding your master cylinder or need brake parts or disc brake conversion upgrades for your American Muscle car or Truck, please call our brake experts at First Place Auto Parts at 1-877-797-1969. We are enthusiast just like you and understand that at times you may installation questions regarding the brake or restoration parts that you purchased from First Place Auto Parts. We are here to help!